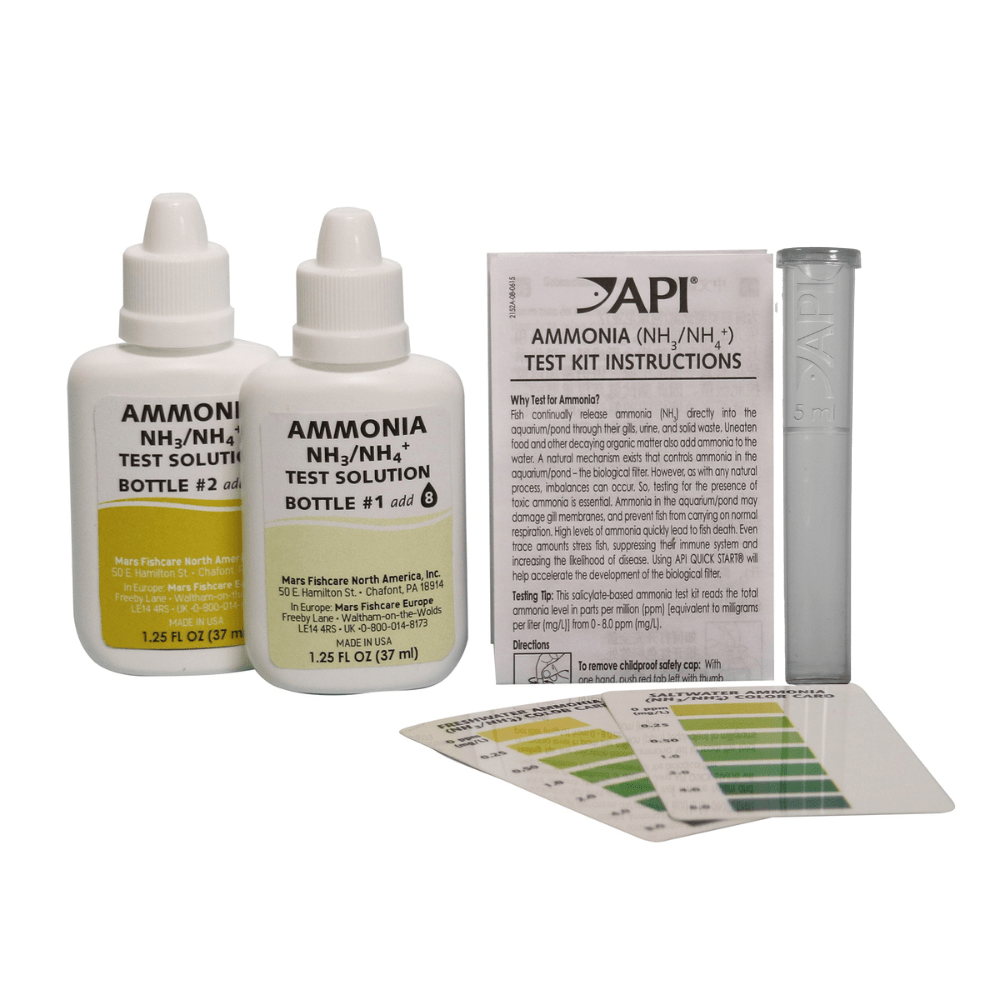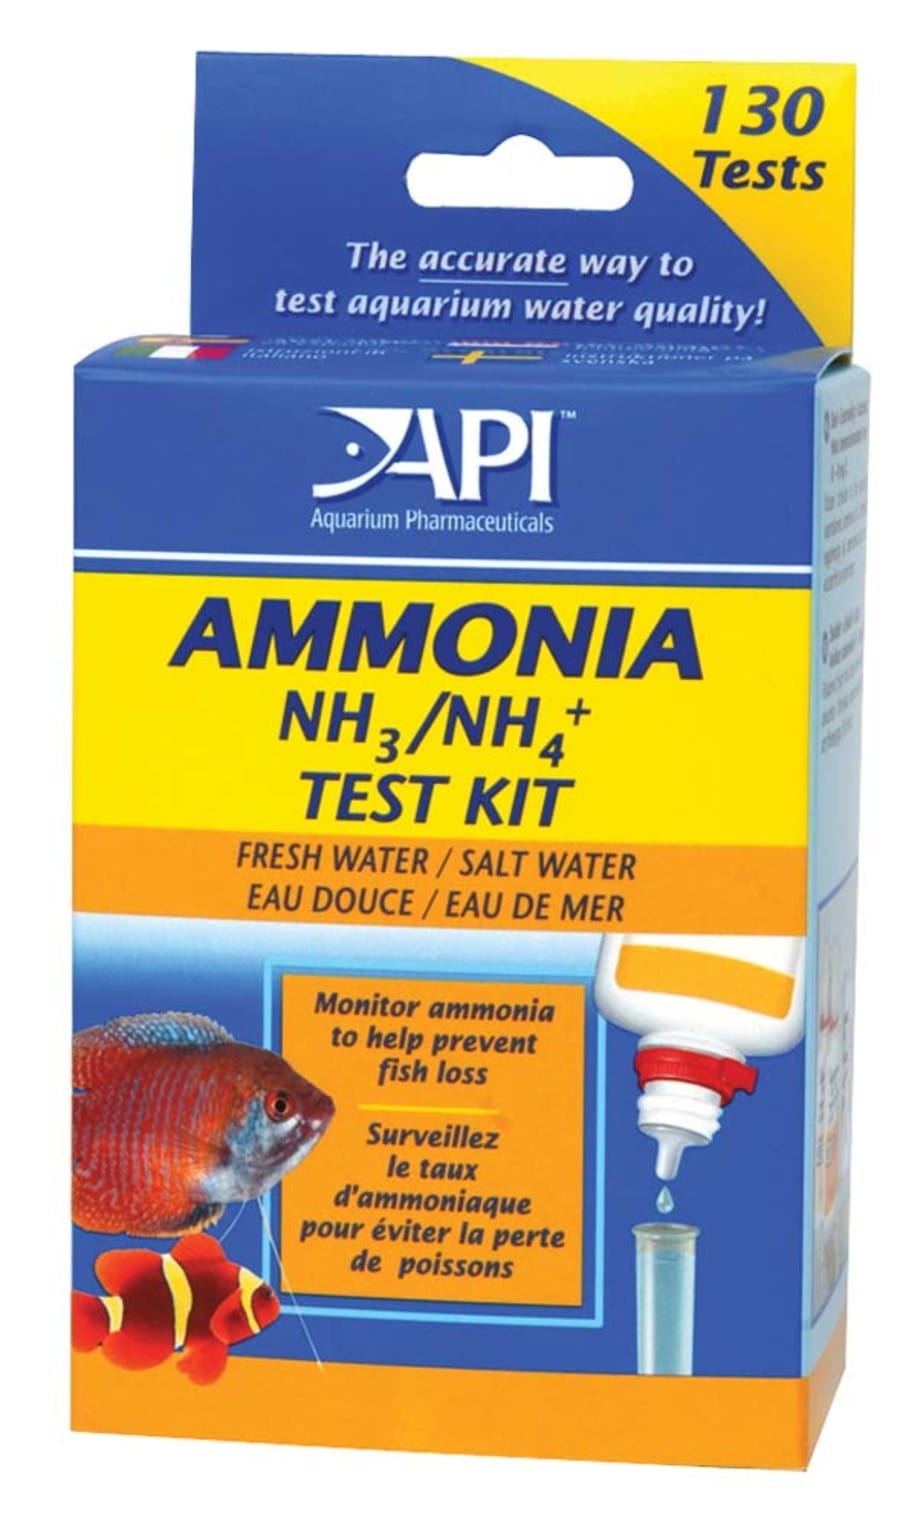
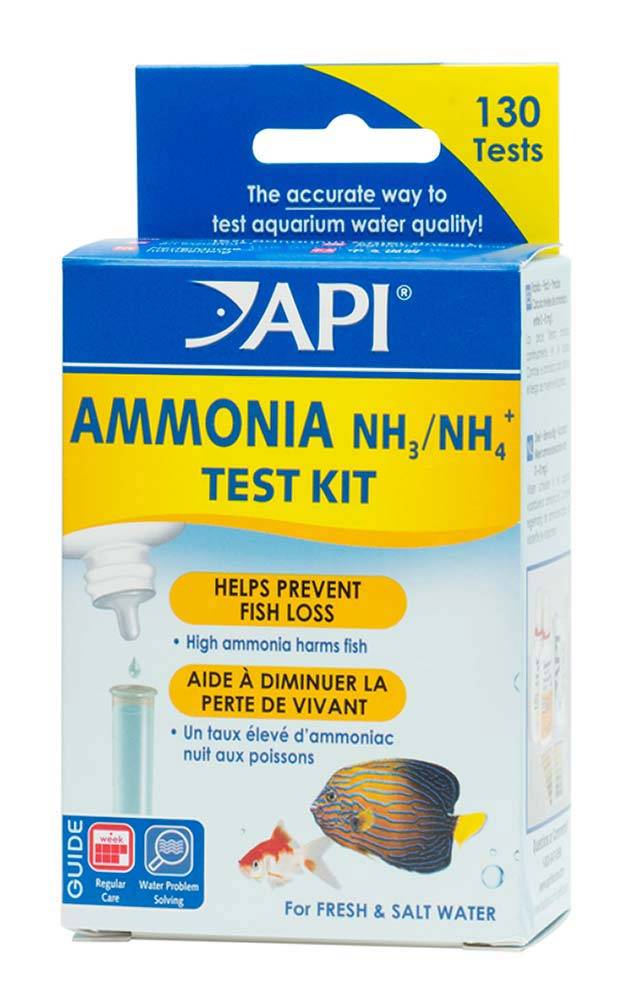
API Ammonia Test Kit for Freshwater and Saltwater Aquariums
$1548Unit price /UnavailableAPI Ammonia Test Kit for Freshwater and Saltwater Aquariums is backordered and will ship as soon as it is back in stock.
Price Match Request
Thanks. We received your request and will reply soon.Order within 6hrs 33min and your order ships today!Salicylate test measures ammonia levels in both fresh & saltwater aquariums. Ammonia, the #1 killer of tropical fish, is continually produced in the aquarium from fish waste & uneaten fish food. This API test kit measures ammonia levels from 0 to 8 ppm.This item ships FREE when combined with a Livestock order!Tags: Test Kits

API Ammonia Test Kit for Freshwater and Saltwater Aquariums
$1548Unit price /Unavailable
Salicylate test measures ammonia levels in both fresh & saltwater aquariums. Ammonia, the #1 killer of tropical fish, is continually produced in the aquarium from fish waste & uneaten fish food. This API test kit measures ammonia levels from 0 to 8 ppm.
Why test for Ammonia?
Tropical fish continually release ammonia (NH3) directly into the aquarium through their gills, urine, and solid waste. Uneaten food and other decaying organic matter also add ammonia to the water. A natural mechanism exists that controls ammonia in the aquarium – the biological filter. It is made up of nitrifying bacteria, which live in the gravel bed. However, as with any natural process, imbalances can occur. Testing for the presence of toxic ammonia is essential, so that once detected, steps can be taken to remove it. Otherwise, ammonia in the aquarium will damage gill membranes, and prevent fish from carrying on normal respiration. High levels of ammonia quickly lead to fish death. Even trace amounts stress fish, suppressing their immune system and thereby increasing the likelihood of disease outbreaks and subsequent fish loss.
Testing Tips:
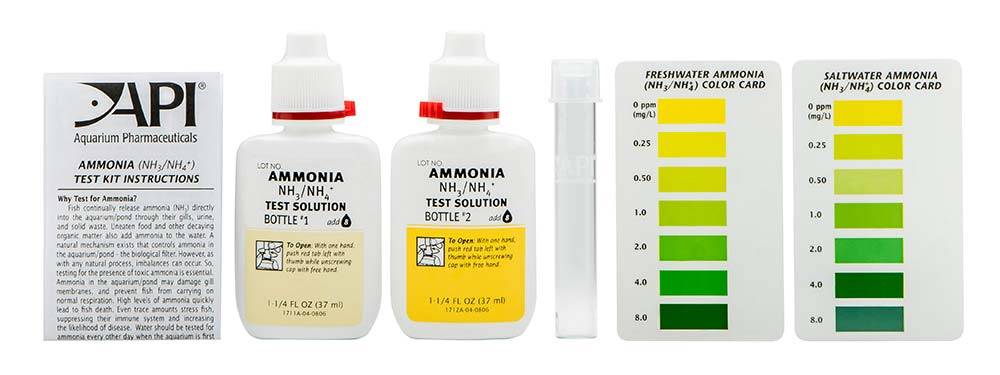
This salicylate based ammonia test kit reads the total ammonia level in parts per million (ppm) which are equivalent to milligrams per Liter (mg/L) from 0 ppm to 8.0 ppm (mg/L), in either fresh or saltwater aquariums. Thus, there are two Ammonia Test Color Charts — one for freshwater aquariums, and one for saltwater aquariums — so be sure to use the correct chart for your type of aquarium when interpreting test results. The Freshwater Ammonia Test Color Chart is the appropriate chart to use for testing freshwater aquariums to which salt has been added.
Directions for Testing Ammonia Levels
- Read thoroughly before testing. Do not allow Test Solutions to get into aquarium.
- To remove childproof safety cap: With one hand, push red tab left with thumb while unscrewing cap with free hand.
- Fill a clean test tube with 5 ml of water to be tested (to the line on the tube).
- Add 8 drops from Ammonia Test Solution Bottle #1, holding the dropper bottle upside down in a completely vertical position to assure uniformity of drops added to the water sample.
- Add 8 drops from Ammonia Test Solution Bottle #2, holding the dropper bottle upside down in a completely vertical position to assure uniformity of drops added to the water sample.
- Cap the test tube and shake vigorously for 5 seconds. Do not hold finger over the open end of the tube, as this may affect the test results.
- Wait 5 minutes for the color to develop.
- Read the test results by matching the test solution against the Ammonia Test Color Chart. The tube should be viewed against the white area beside the color chart. Color comparisons are best made in a well-lit area. The closest match indicates the ppm (mg/L) of ammonia in the water sample. Rinse the test tube with clean water after each use.
What the Test Results Mean:
In a new freshwater or saltwater aquarium, the ammonia level may surge to 6 ppm (mg/L) or more, and then fall rapidly as the biological filter becomes established. The ammonia will be converted to nitrite (also toxic), then to nitrate. This process may take several weeks. Use Aquarium Pharmaceuticals STRESS ZYME® to speed up the development of the biological filter. In an established aquarium, the ammonia level should always remain at 0 ppm (mg/L). The presence of ammonia indicates possible over-feeding, too many fish, or inadequate biological filtration.
The ammonia level is not an indication of the nitrite level; nitrite is another toxic waste material which must be tested separately.
Monitoring Ammonia Levels:
Regular testing is necessary to make sure the ammonia level is safe. Aquarium water should be tested for ammonia every other day when the aquarium is first set up, and once a week after the biological filter has been established (in about 4 to 6 weeks).
Water Changes
Changing 25% of the aquarium water will reduce the ammonia level in emergency situations. In situations where animals are present, daily testing and water changes may be required over several days until ammonia levels fall naturally. The use of a bacterial cycling agent such as Stress Zyme to innoculate the aquarium, in conjunction with an ammonia-neutralizing water conditioner may also be beneficial.
Danger:
- HARMFUL & CORROSIVE C
- Bottle #2 contains sodium hydroxide and sodium hypochlorite
- Causes severe burns
- Contact with acids liberates toxic gas
- Toxic by inhalation, in contact with skin and if swallowed
- Danger of cumulative effects
- Keep locked up and out of the reach of children
- Keep away from food, drink and animal feeding stuffs
- In case of contact with eyes, rinse immediately with plenty of water (at least 15 minutes) and seek medical advice immediately. If contact lenses are present, remove after 5 minutes and continue rinsing
- After contact with skin, wash immediately with plenty of water. Remove contaminated clothing
- Wear suitable gloves and eye/face protection
- In case of accident or if you feel unwell, seek medical advice immediately (show label where possible)
- Do not mix with acidic materials
FAQs
- Is it correct for the #2 bottle in the API AMMONIA TEST KIT to have a slightly bigger hole in the spout than the #1 does? I’m concerned my test kit isn’t accurate because of this.
The dropper tips are all the same, but the viscosity of the liquids are different. Drops may appear to be larger coming out due to the thickness of the drop.
- How do I care for and clean my test tubes?
Once the test has completed, it is important to rinse the test tube with water right away so that the contents don’t stay in the test tube. This will make sure that the reagents don’t cause anything to stick to the sides of the test tube, which could cause staining over time.
Simply run the water, open the test tube gently (do not twist the cap), and allow the water to dilute and rinse the contents out of the test tube. Avoid getting the contents of the test tube on your skin.
If you find that you have forgotten reagent within your test tube for a long period and the color is sticking to the tube, you are able to use a small bottle brush (and some API Safe & Easy cleaning spray) to gently wash the inside of the tube. Avoid the use of soap, as soap residue could be introduced back into the aquarium when filling the test tube at next use, which is something that could be harmful to your fish.
Replacement test tubes are also available for purchase from online retailers, should you need additional test tubes.
- How hard do I shake the test tube when performing the tests?
While it is important to shake the indicated reagent bottles very vigorously, you should be gentler when shaking the test tubes during testing. Before shaking, make sure that the cap is closed tight. Place a finger or thumb on top of the cap, to make sure it cannot come undone during use. The goal of this shaking step is to mix the contents of the tube together and this can be accomplished by simply inverting the test tube, back and forth every 1-2 seconds, for the indicated amount of time.
Free Shipping over $49
Free Overnight over $399
90 Day Returns w/ Reef Guard
Expert Customer Support
Add Merch to your box ships FREE
View all-

Anemone Clownfish UV Reactive Hoodie Sweatshirt
$3599$4499Unit price /Unavailable -

TSA Rasta Mini Logo UV Reactive Hoodie Zip Up Sweatshirt
$3599$4499Unit price /Unavailable -

Anemone Clownfish UV Reactive Hoodie Sweatshirt
$3599$4499Unit price /Unavailable -

Blotched Anthias UV Reactive Hoodie x Sweatshirt
$3599$4499Unit price /Unavailable -

Blotched Anthias UV Reactive Hat
$2559$3199Unit price /Unavailable -

Blotched Anthias UV Reactive Hat
$2559$3199Unit price /Unavailable -

Blotched Anthias UV Reactive Hat
$2559$3199Unit price /Unavailable -

4 Color Anemone Clownfish UV Reactive T-Shirt
$2400$3000Unit price /Unavailable -

Blue Spot Jawfish UV Reactive T-Shirt
$2400$3000Unit price /Unavailable -
$2159
$2699Unit price /Unavailable -
Blotched Anthias UV Emblem 5 Panel Hat
$2159$2699Unit price /Unavailable -
$2159
$2699Unit price /Unavailable -
$2159
$2699Unit price /Unavailable -

Torch Coral UV Reactive T-Shirt
$2000$2500Unit price /Unavailable -

TSA Drip Wrasse UV Reactive T-Shirt
$2000$2500Unit price /Unavailable -

TSA Bubble Tip Anemone White UV Reactive T-Shirt
$1600$2000Unit price /Unavailable -

TSA Bubble Tip Anemone UV Reactive T-Shirt
$1600$2000Unit price /Unavailable -

TSA Red Flasher Wrasse UV Reactive T-Shirt
$1600$2000Unit price /Unavailable -

TSA Green Flasher Wrasse UV Reactive T-Shirt
$1600$2000Unit price /Unavailable -

TSA Coral Pattern UV Reactive T-Shirt
$1600$2000Unit price /Unavailable -

TSA Coral Pattern Outline UV Reactive T-Shirt
$1600$2000Unit price /Unavailable -

TSA Top Shelf Outline Logo UV Reactive T-Shirt
$1600$2000Unit price /Unavailable -

TSA Brain Pattern Logo UV Reactive T-Shirt
$1600$2000Unit price /Unavailable -

Top Shelf Aquatics UV Reactive Logo T-Shirt
$960$1200Unit price /Unavailable
Your cart
Add these to your box:
Live Green Phytoplankton (Tetraselmis chui) - Reef Genetics
From $999Unit price /Unavailable