Regular water changes are essential to keep the aquatic life in your tank at optimal health by removing waste and toxins that can harm your plants and animals over time. However, infrequent water changes can lead to many issues and make your tank unsightly, unpleasant, and odorous.
By removing a portion of water in the tank, you are helping to remove a variety of organic matter that irritates the aquatic life inside the tank. High levels of substances like phosphates and nitrates lead to the formation of algae, and these affect the life of the marine life inside the tank.
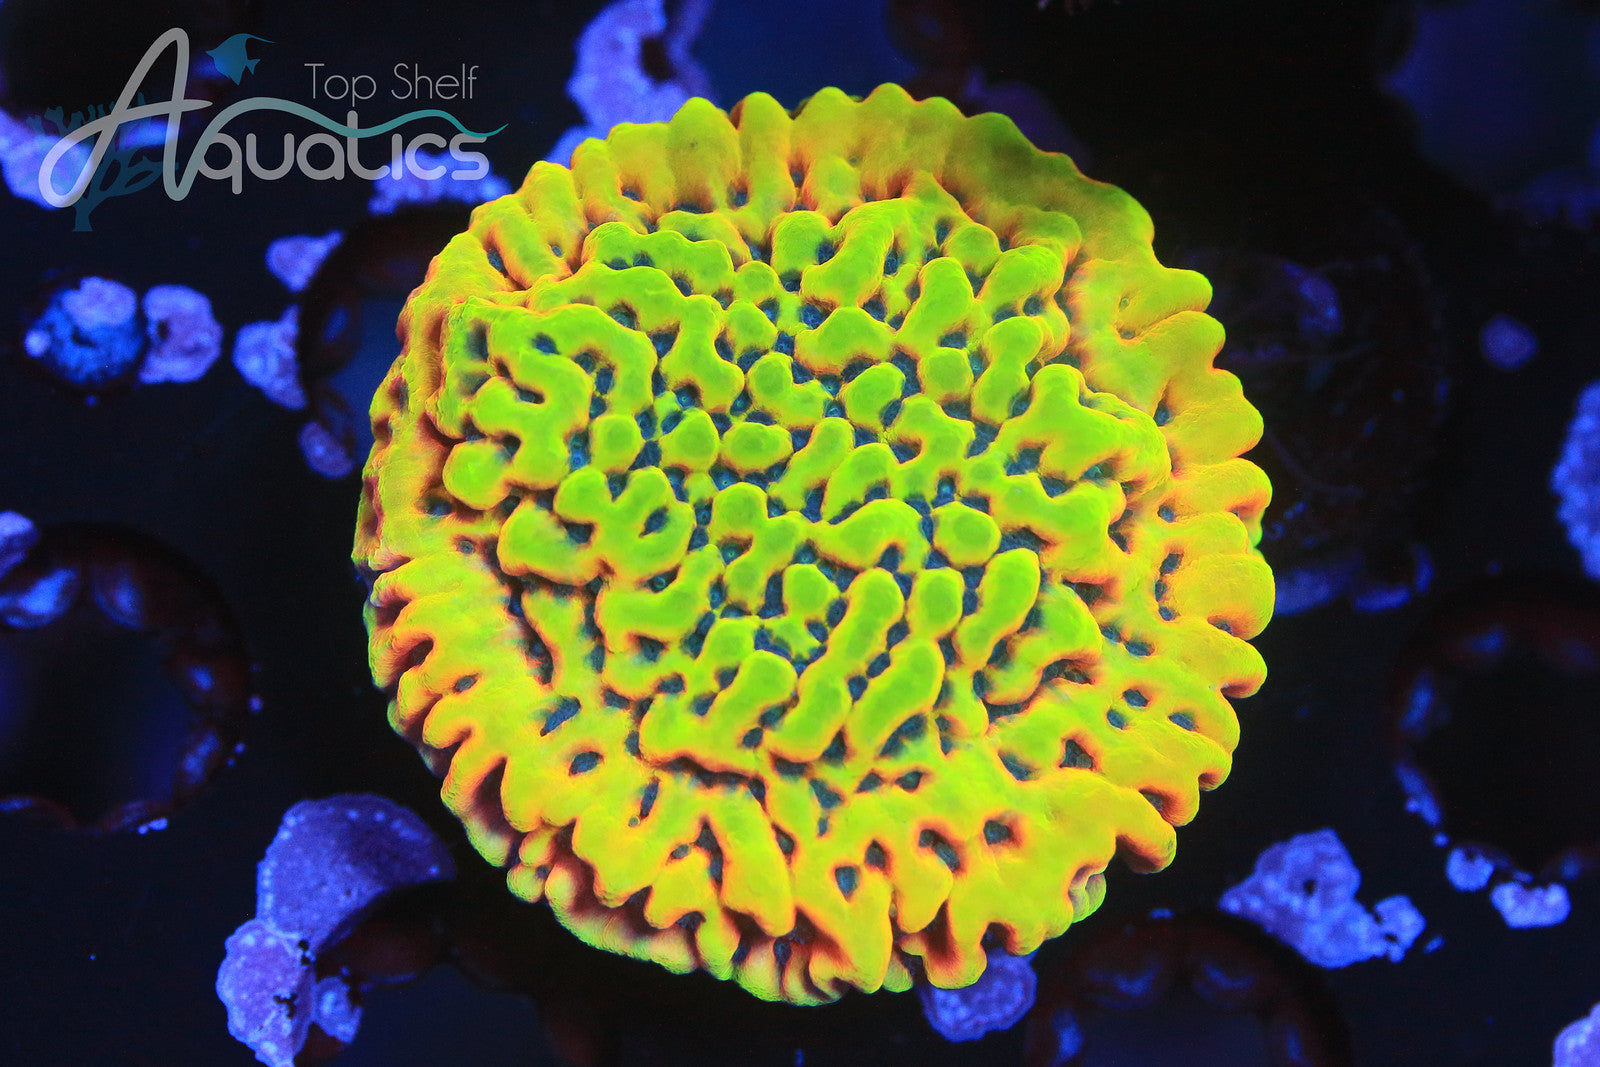
Also, corals are constantly using resources in the tank to stay alive, including oxygen, which becomes depleted over time. Water changes help to replenish these vital components to suitable levels.
How Often Should You Change Fish Tank Water?
Most tanks should have ten to twenty percent of the water volume replaced every week. Depending on your filtration equipment, you may be able to stretch to doing changes every two weeks. Regularly testing your water for the buildup of nitrates and phosphates can help you determine the right frequency for your aquarium.
List of Items Needed To Complete
Set up these items to start your water change:
- 5-gallon bucket
- Siphon tube or gravel vacuum
- Fill pump (optional)
- Towels
- Clean saltwater
- Thermometer
- Refractometer
- Algae scraper
Step-By-Step Instructions
- Gather your gear and turn off the power to your tank’s pumps, heaters and other electronic devices.
- Layer towels underneath the bucket to catch any spilled water.
- Remove the tank hood. Scrape off any algae or buildup from the walls of the tank before you begin removing water.
- Position the end of the siphon in your bucket. Start the siphon and begin siphoning water from your tank into your bucket.
- Run the siphon along the surface of the substrate to suck up detritus along the bottom of the tank. Continue siphoning until you have removed 10-20% of the water.
- Use the refractometer to measure the salinity of both your new saltwater and your tank’s remaining water. Adjust the salinity to match precisely.
- Check the temperature of the new saltwater and the current tank water. If your tank is more than 2-3° F warmer than the new water, you might want to heat the fresh saltwater before adding it to avoid stressing your tank’s residents.
- Slowly add the clean saltwater into your tank. Pour into the tank, sump or filter very gently to avoid splashing or disrupting the substrate. If you have a larger tank, a fill pump may be a more efficient method for replacing the water.
- Once your tank is full, power up your filter, heater and other equipment. If the water level drops after turning on your pumps, top it off with more clean saltwater.
How Much Salt Should I Add To My Tank’s Water?
Reef tanks are generally kept at a salinity of 1.026 (or 35ppt or 53 mS/cm conductivity), but the exact salinity of your tank depends on the needs of your livestock. Commercial salt mix manufacturers should provide measurements for how much salt mix is required to reach a particular salinity level. The salt mix should be blended with reverse osmosis deionized water (also called RO/DI water) in a separate vessel before adding the solution to the tank. Be sure to check the salinity of both the fresh saltwater and the current tank to ensure they are identical. Hydrometers, analog refractometers, and digital meters are all excellent options for hobbyists looking to measure salinity.
If you would like assistance in maintaining your saltwater tank, Top Shelf Aquatics provides ongoing professional aquarium maintenance services to ensure your fish and aquatic creatures thrive in their environment. Our team can develop a set maintenance schedule that suits the needs of your home or business. Our professionals will clean and inspect your aquarium for functionality and health to provide an ongoing beautiful aquatic environment.
If you want to stay up to date on the latest deals from Top Shelf Aquatics, join our VIP Club today and get exclusive offers sent directly to your phone.
